

Installing Air Lift Is Easy!
2/17/2014
Easy is a relative term. What is easy for some can be very difficult for others. If you have any mechanical aptitude whatsoever, then installation of an Air Lift air spring suspension kit is quick and easy.
It is easy because all the parts needed for installing Air Lift air springs are included in the kit and can be installed with common hand tools in about 2 hours or less. There are six basic steps to installation:
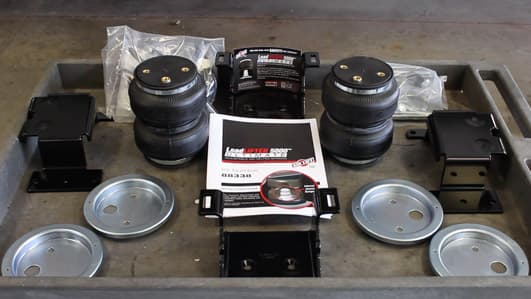
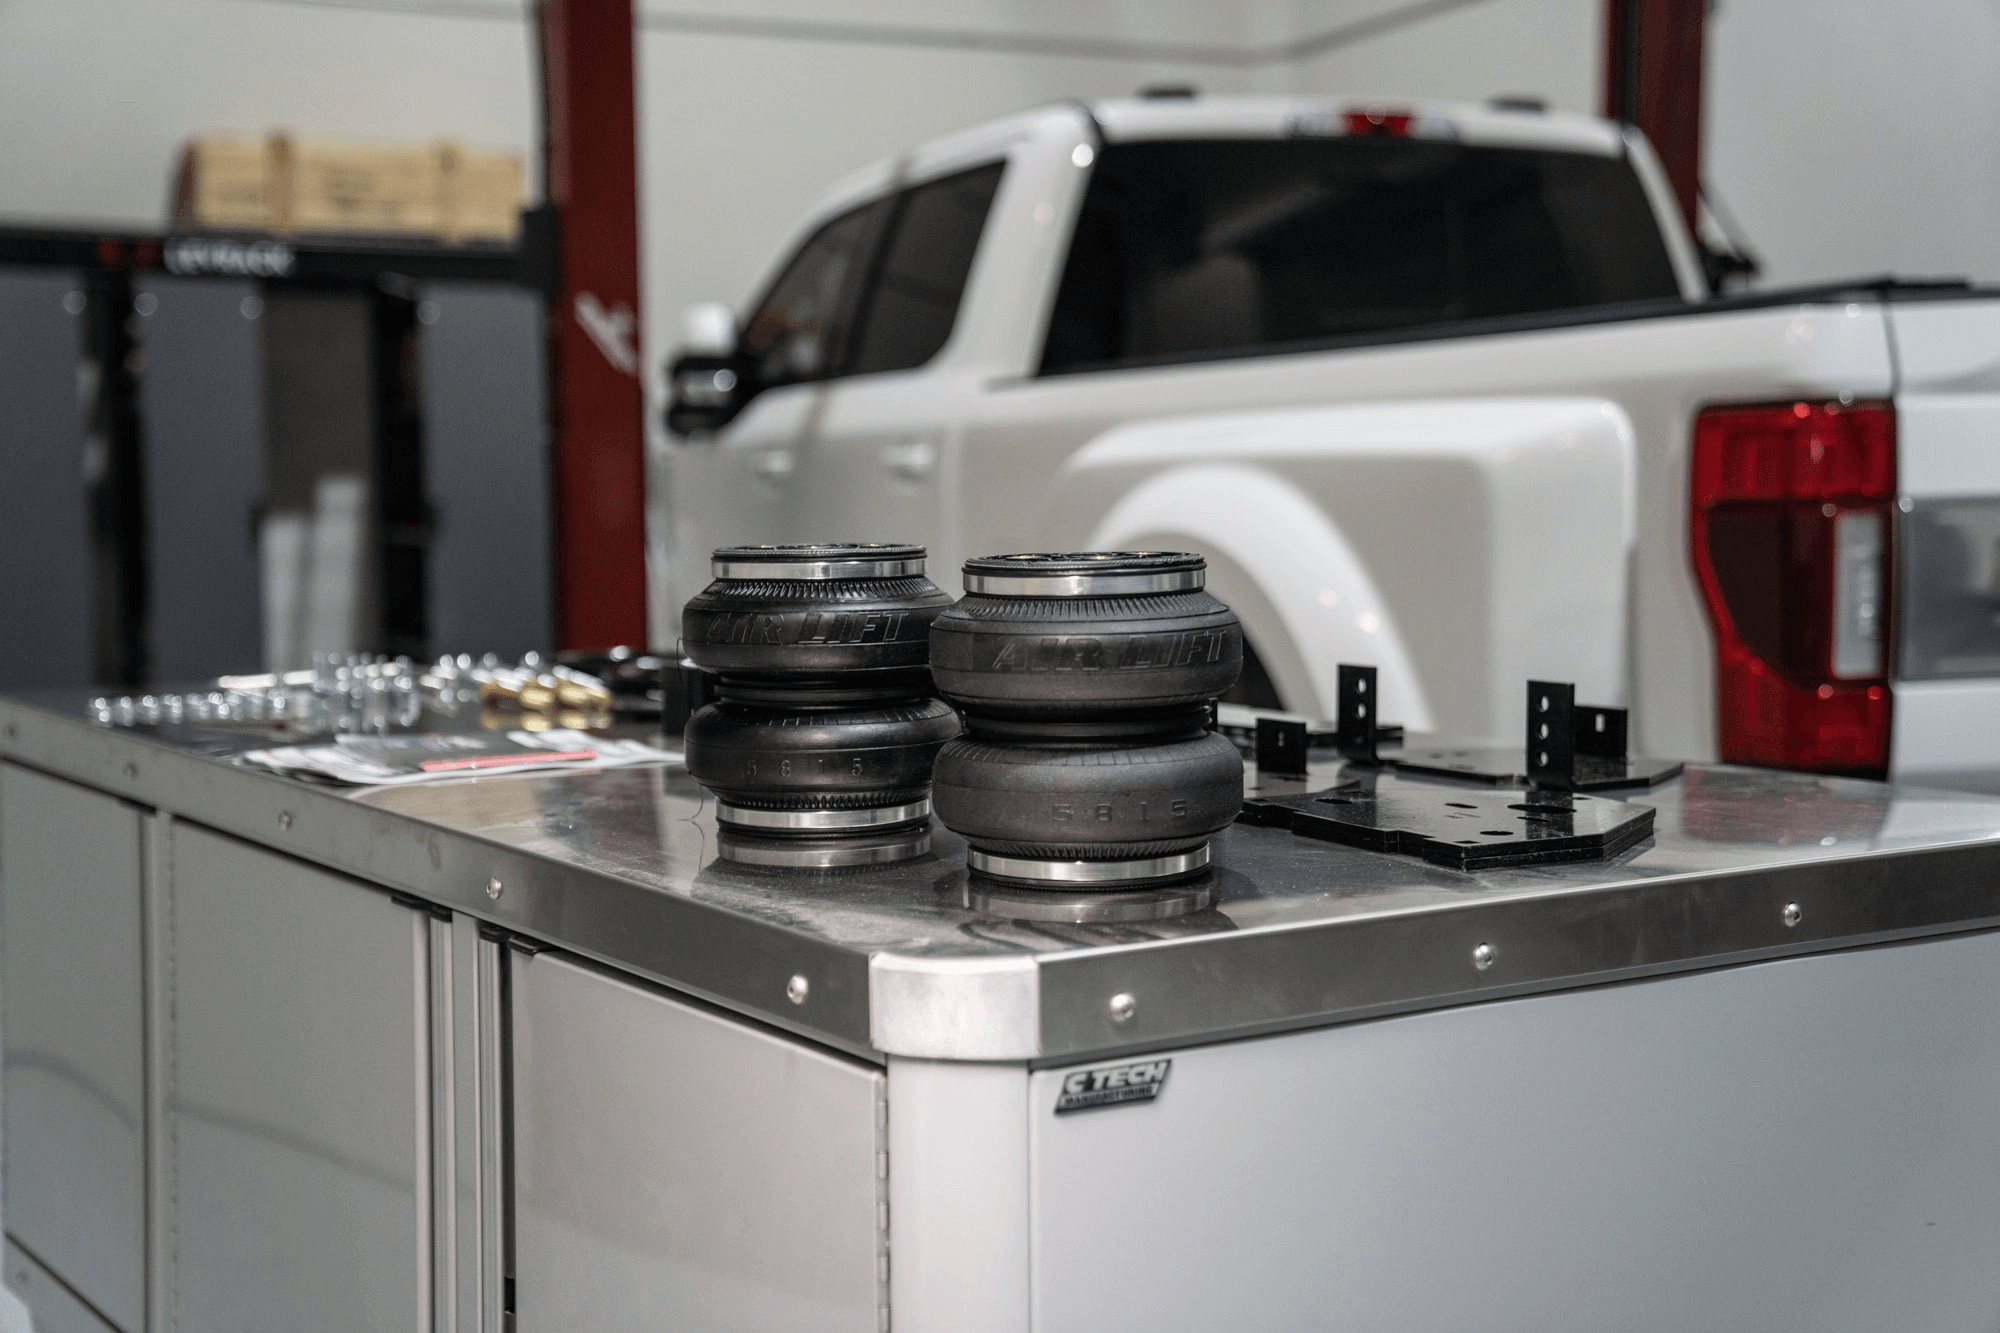
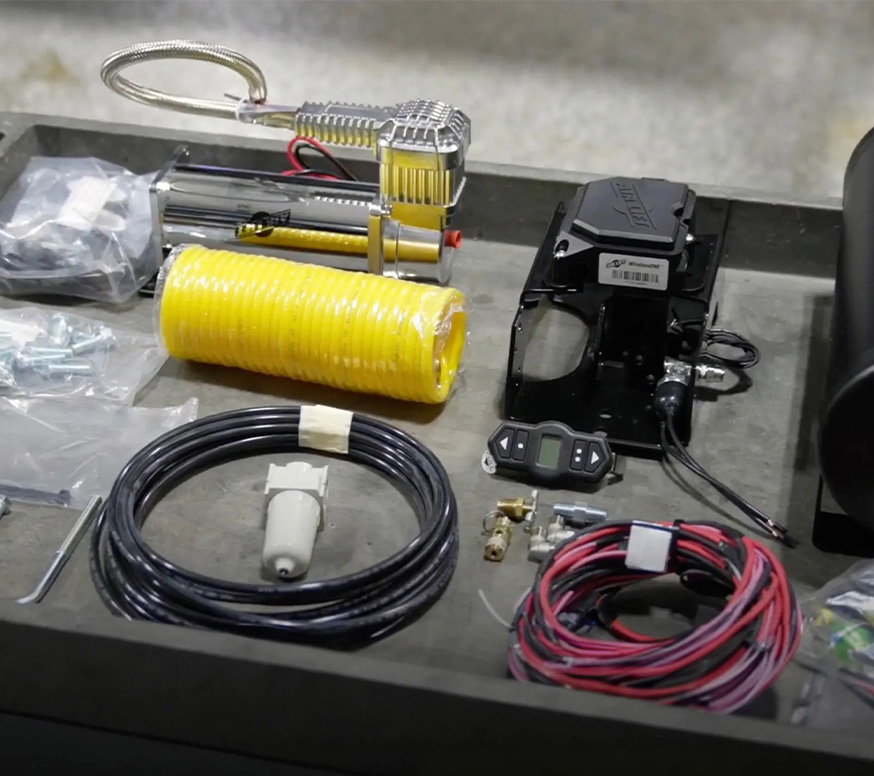
- Once you receive the kit (I know that you are anxious) take time to lay out each individual component and check it off against the parts list printed in the installation manual. Then make sure that you have the necessary tools to complete the job and proceed to step 2. If any part that is on the list is not provided in the kit, stop and contact Air Lift customer service.
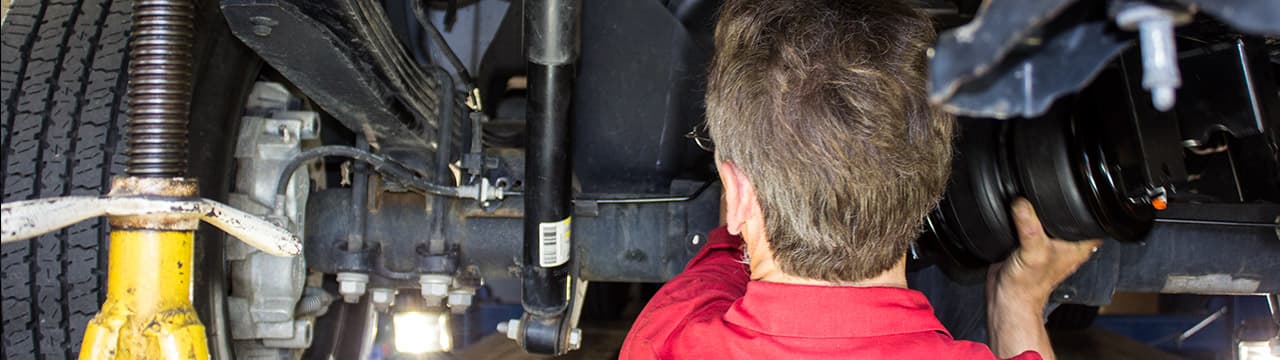
- Raise the vehicle on a hoist or jack stands and remove the wheels. Some kits do not require you to remove the wheels for installation.
- For LoadLifter 5000 series kits: Position the upper and lower mounting brackets over the air spring creating the air spring assembly. Use all of the bolts, washers, and lock nuts provided with the kit.
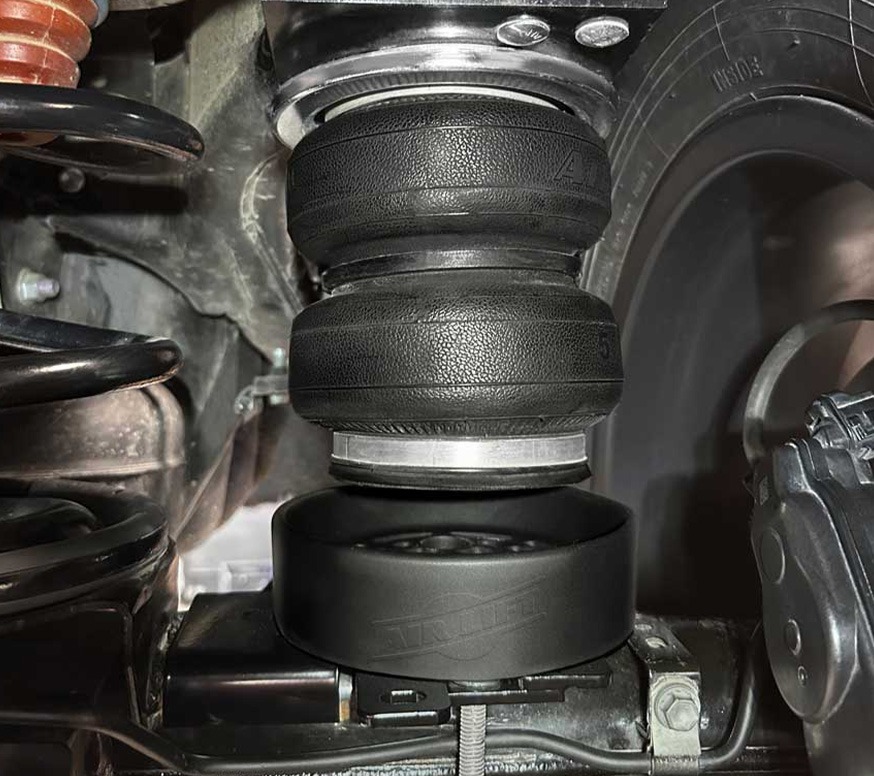
- Carefully position and secure the air spring assembly to the frame (if a LoadLifter 5000 or RideControl kit) or insert air springs inside the coil springs (if a Air Lift 1000 kit) according to the installation manual. RideControl kits include an exclusive alignment tool to help with mounting the upper and lower brackets.
- Run the included air line from the air springs to the included Schrader valve (or to an on-board air compressor system) according to the installation manual. Be careful to secure air line away from moving parts and sharp or hot objects. Use the included plastic tie-wraps to secure air lines where required. Install heat shields where applicable.
- Conforming to the specifications concerning air pressure requirements in the installation manual, slowly fill the air springs with air and check for leaks. If no leaks are found, reinstall the wheels and place the vehicle on a level surface. Adjust the air springs to obtain the desired ride height. Make a final inspection of the air lines and air bags to ensure that they will not become punctured or overheated.
The six steps above vary depending on the unique suspension of your vehicle. Air Lift’s installation manuals are the most thorough and detailed in the industry; written, photographed, and edited by our team of engineers in Lansing, MI.
Next Steps:
- Watch an installation video of Air Lift 1000, RideControl or LoadLifter 5000.
- Read an example installation manual.
- Find a kit for your vehicle.